Important Links:
Step by Step Instructions
- Replace ‘test_points’ array with test points gathered from kicad export step.
- Set ‘tp_min_y’ to minimum y value from ‘test_points’ array.
- Set ‘pcb_outline’ to point to exported outline DXF.
- Set ‘pcb_x’ and ‘pcb_y’ to max (x,y) dimensions.
- Set ‘work_area_x’ and ‘work_area_y’ to be greater than or equal to ‘pcb_x’ and ‘pcb_y’ respectively.
- Set ‘pcb_th’ to thickness of pcb (typically 1.6mm).
- Set ‘mat_th’ to thickness of laser cuttable material (typically acrylic) in mm.
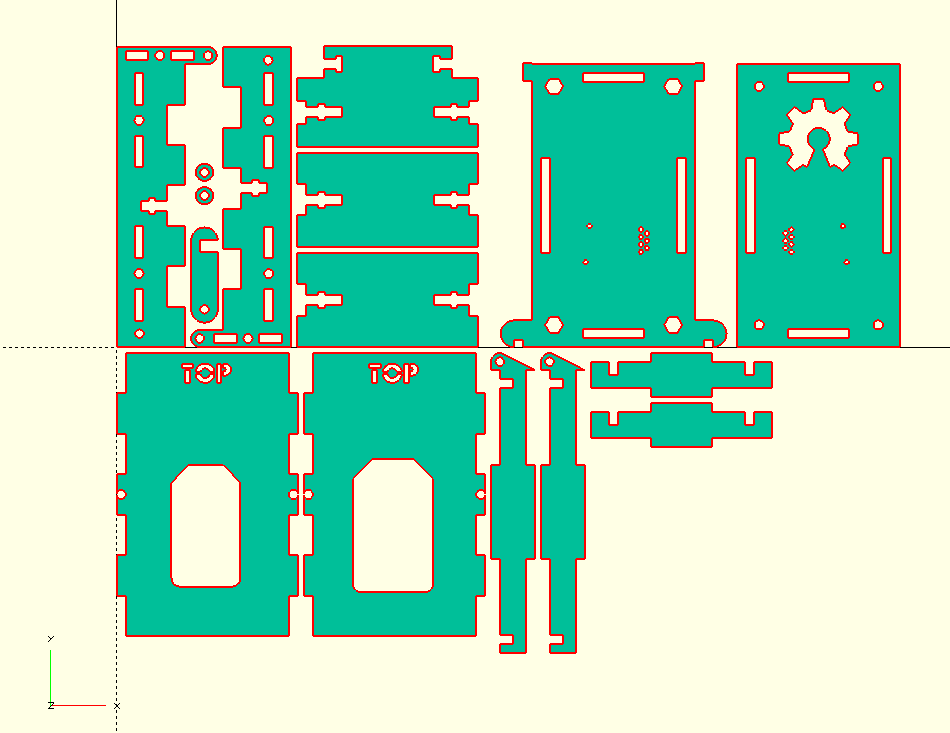
- Uncomment ‘projection (cut = false) lasercut ();’ and comment other statements.
- Hit F6 to generate design.
- Click File->Export->Export as DXF.
- Cut with CO2 laser or send off to ponoko to cut.
Advanced Configuration
OpenFixture is written using openscad and is fully parametric which mean you can edit just about any variable at the top and it will generate a usable fixture solution. The typical variables that most users will need to edit are:
PCB variables (Follow this guide to export these in kicad):
- PCB dxf outline exported from kicad or other EDA software.
- Array of [x,y] coordinates extracted from pcb layout software.
- tp_min_y – Smallest y value from [x,y] coordinates above.
- Outer PCB dimensions (pcb_x, pcb_y).
- PCB thickness
Material/Assembly variables:
- mat_th – Material thickness that’s being cut by laser.
- screw_th_len – Thread length (in mm) of M3 hardware (recommended at least 14mm).
- work_area_(x,y) – Set these to pcb_x and pcb_y for most cases.
Other variables most people won’t touch:
- If using non-M3 hardware update:
- screw_d – screw diameter.
- nut_od_f2f – hex nut outer dimension flat to flat.
- nut_od_c2c – hex nut outer dimension corner to corner.
- nut_th – hex nut thickness (z).
- If using alternate hardware for hinge joint (ie: nylon bushing or something else).
- pivot_d – Set to diameter of pivot hardware.
- To change the support border to allow components close to the edge
- pcb_support_border – Must be less than nearest bottom component to the edge.
After entering the necessary information above uncomment one for the following 3 lines and compile (F6).
//projection (cut = false) lasercut (); // Uncomment for exportable dxf to laser cut
//3d_model (); // Uncomment for full 3d rendering
//3d_head (); // Uncomment for 3d head rendering
//3d_base (); // Uncomment for 3d base rendering
After exporting the DXF from openscad you may need to open it in inkscape to convert it to a format needed by the laser cutter. For the epilog I have access to it’s stroke lines must be 0.001″ and exported as a PDF. Once laser cutting is complete you will be ready for assembly. Please follow the assembly guide here: OpenFixture Assembly.